

Cart
0
Beginner’s Guide to Operating a Center Console RIB Boat on Open Water
Center console Rigid Inflatable Boats (RIBs) have gained popularity among novice and experienced boaters alike for their unique combination of agility, stability, and versatility across various marine activities. Whether you plan to cruise coastal waters, engage in light fishing, or explore offshore adventures, understanding how to safely and effectively operate your center console RIB on open water is essential to building confidence and ensuring enjoyable trips.
This guide offers step-by-step instructions, practical tips, and best practices for new RIB owners—or anyone looking to refine their open-water handling skills. We’ll cover crucial aspects like preparing your vessel and crew, basic maneuvering and navigation, dealing with different sea states, as well as essential safety considerations. Throughout, you’ll find references to NovielliBoats.com for further reading on boat maintenance and seamanship, and CenterConsoles.myshopify.com in case you wish to upgrade or accessorize your boat’s console for maximum comfort and functionality. Let’s embark on this learning journey and set you up for confident RIB piloting.
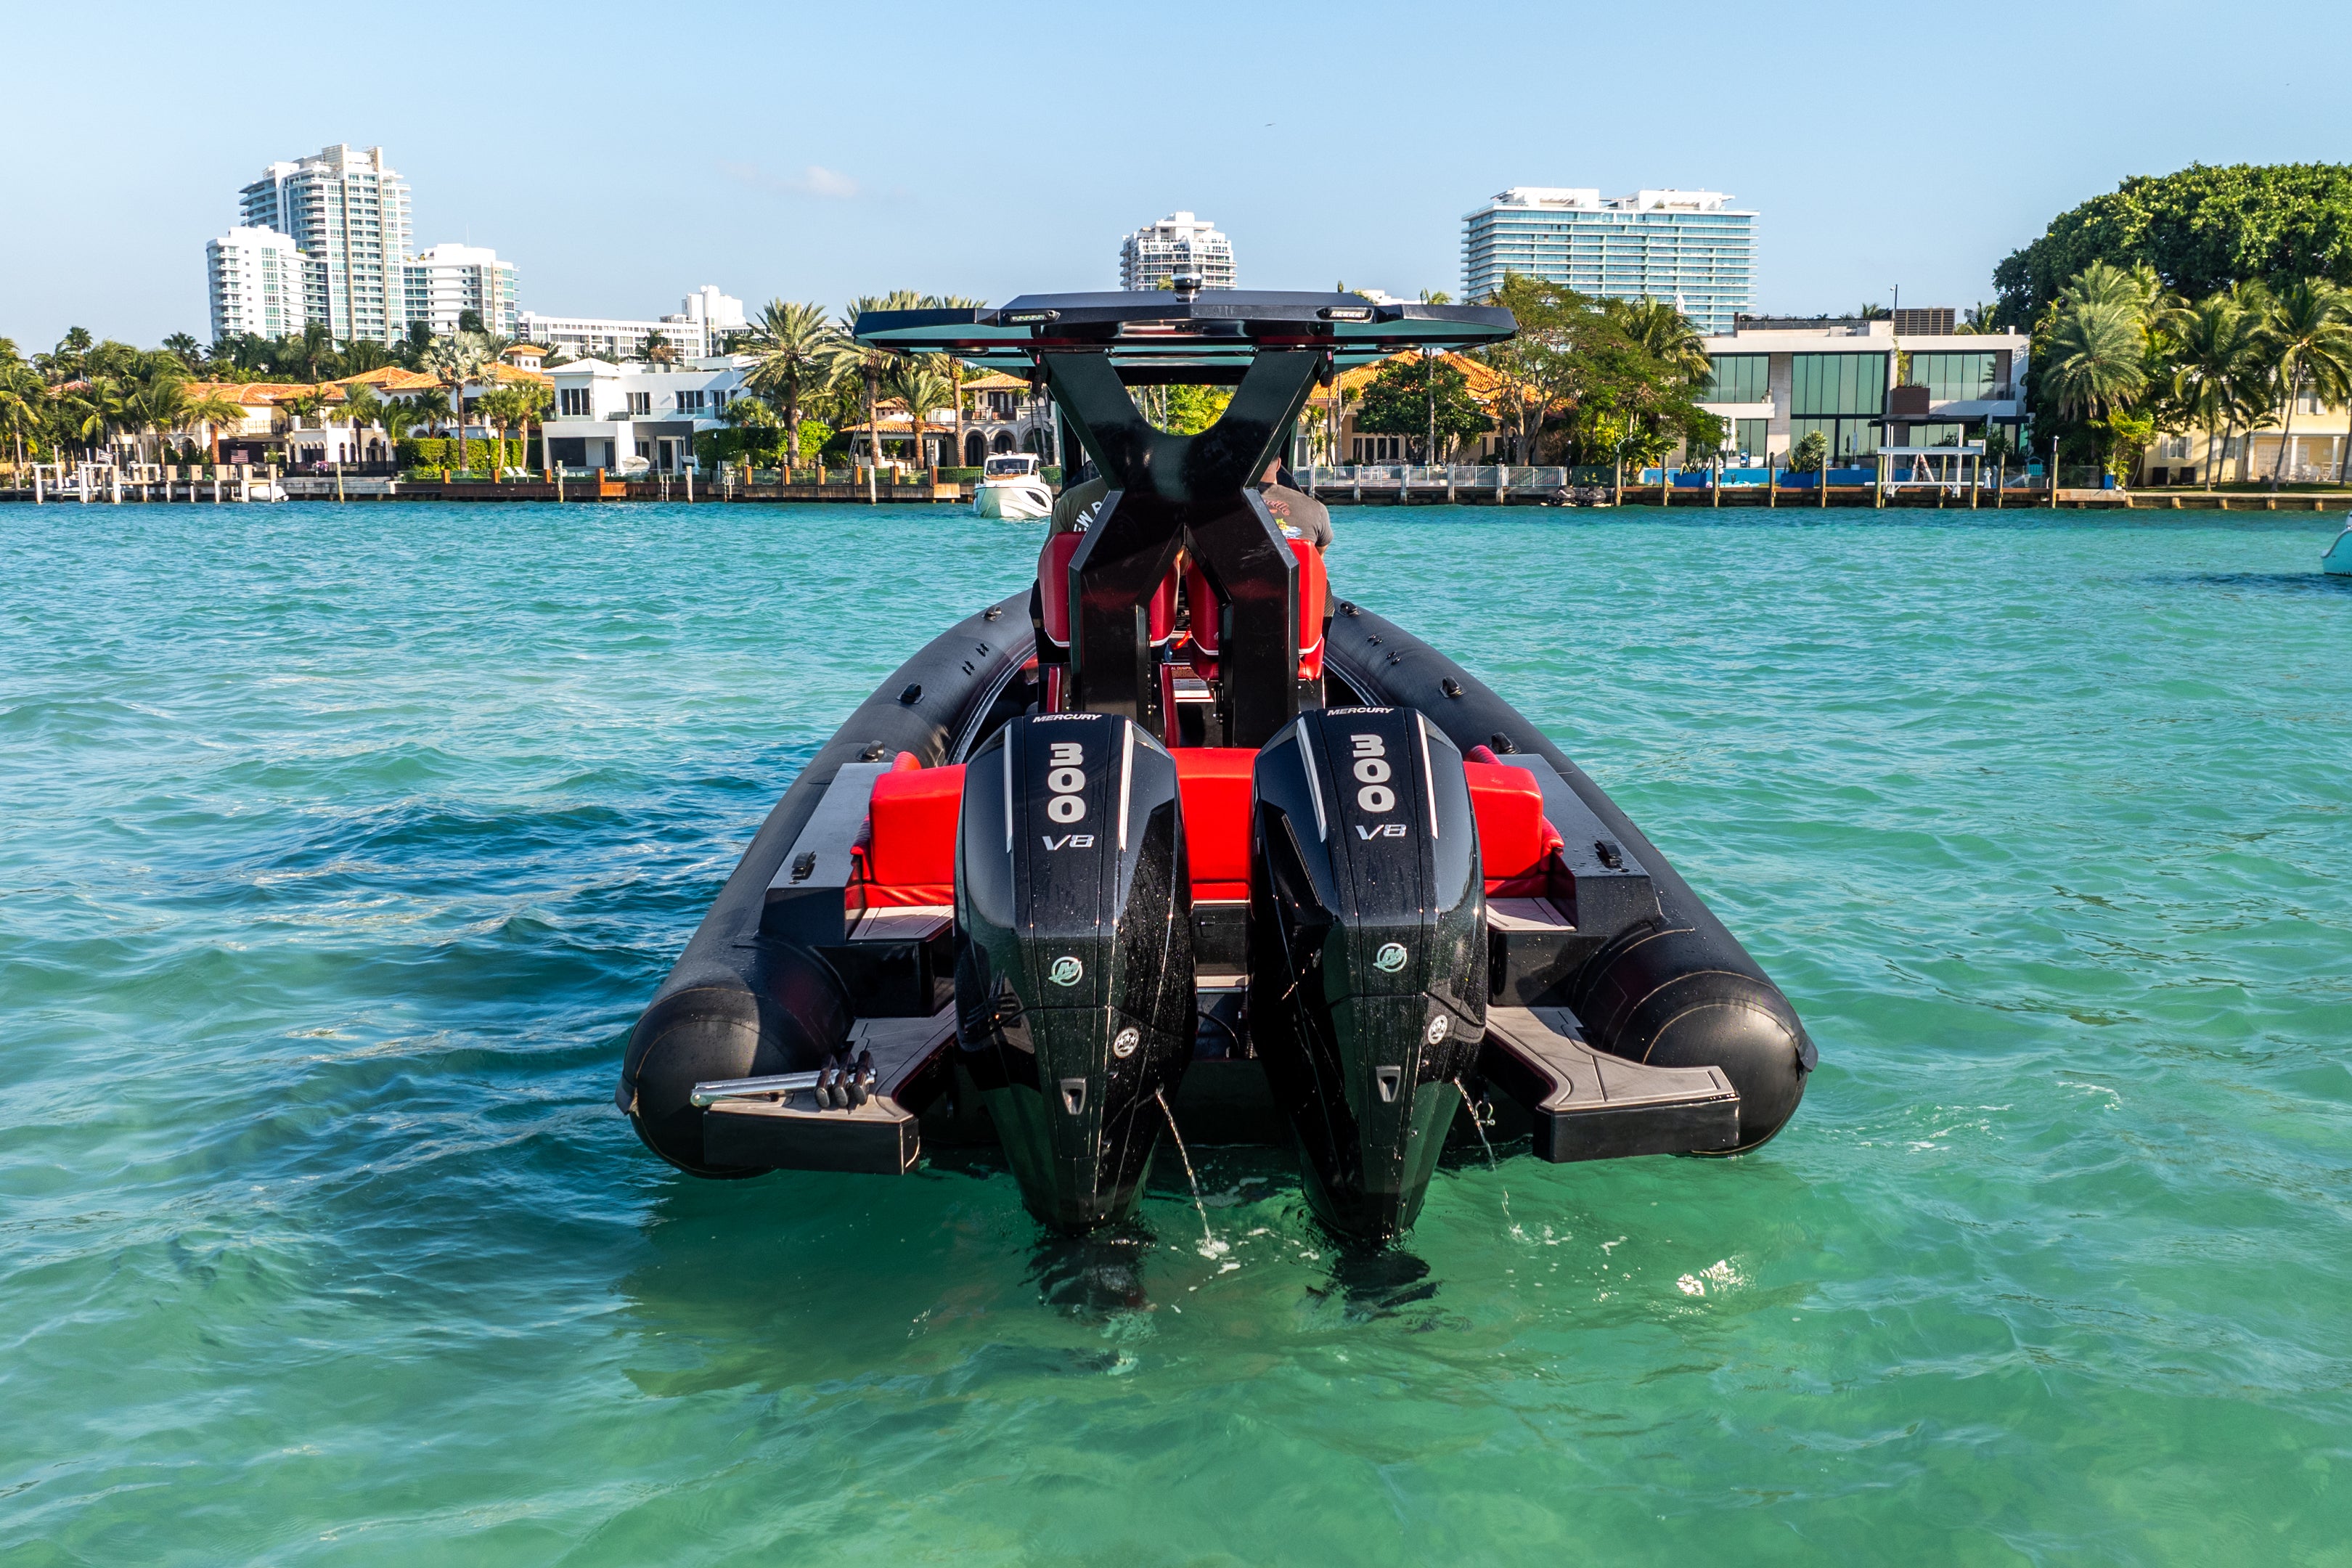
Step 1: Familiarize Yourself with Your RIB and Console Layout
Every RIB design is slightly different, so begin by studying your specific model’s user manual and console arrangement. While the general principles of boat operation remain constant, the location of controls, switches, and storage compartments can vary. Pay attention to:
- Throttle and Shift Levers: Determine whether you have a single lever (push forward to go, pull back to reverse) or separate shift and throttle controls. Practice shifting smoothly without “clunking” into gear.
- Steering Wheel Alignment: Check how many turns it takes from lock to lock. RIBs often steer quicker than heavier boats, so be ready for a more responsive feel.
- Console Switches and Gauges: Identify the bilge pump switch, navigation light switch, horn, and any accessory toggles. Ensure you can read the tachometer, speedometer (if equipped), fuel gauge, and engine temp gauge easily while at the helm.
- Seating and Leaning Post: Decide if you’ll primarily stand at the console or utilize a bench seat. Adjust any seat or leaning post to a comfortable height for visibility.
- Under-Console or Storage Hatches: Know where life jackets, flares, anchors, and first-aid kits are stored. Quick access to safety gear can be critical in emergencies.
Remember that a center console layout allows walk-around movement, so confirm your crew understands where to stand or hold on, especially in choppy water. Familiarity with your boat’s “home base” is the foundation for all subsequent steps.
Step 2: Pre-Departure Checks and Trip Planning
A methodical approach before leaving the dock sets the stage for smooth open-water cruising. Even an experienced boater benefits from a thorough pre-departure routine:
-
Weather Forecast and Tides:
- Check multiple weather sources, focusing on wind speed, wave heights, and tide swings. A calm forecast helps new operators gain confidence without battling big seas.
-
Fuel and Fluids:
- Evaluate your RIB’s tank capacity relative to your planned route. Keep a safe reserve in case you decide to explore farther or weather conditions slow your return. Inspect engine oil levels (for four-stroke outboards) or two-stroke oil tanks as needed.
-
Battery and Electricals:
- Ensure the battery is charged. Test lights (navigation, anchor, interior) and the horn. If your RIB has a multi-function display, confirm it boots up and the transducer is reading properly.
-
Safety Gear:
- Life jackets, throwable flotation devices, fire extinguisher, flares, and a VHF radio are standard. A quick inventory check ensures none are missing or expired.
-
Float Plan:
- Tell a friend or family member about your planned route and expected return time. This precaution helps in case you run into trouble offshore.
These steps not only reduce the chance of mid-journey surprises but also build a reliable routine that makes each outing safer and more enjoyable.
Step 3: Launching and Leaving the Dock
If your RIB is trailered, the process starts at the boat ramp. Alternatively, if moored or stored in a slip, you’ll cast off lines. Either way, stay calm and deliberate:
-
Trailering and Launch Ramp:
- Prep away from the ramp: load gear, attach drain plugs, remove tie-down straps. This courtesy prevents ramp congestion.
- Once afloat, tie off to the dock or have someone hold lines while you park the tow vehicle.
-
Engine Warm-Up:
- After starting the outboard, let it idle for a minute or two. Check water flow from the telltale (cooling indicator) to confirm proper circulation.
-
Casting Off the Dock:
- Use minimal throttle in tight spaces. RIBs respond quickly to helm input, so slight wheel turns and short bursts in forward or reverse can pivot you neatly without large swings.
- Watch wind or current drift to avoid scraping the tubes against the dock or other boats.
A well-managed launch or departure sets the tone for the entire trip. With practice, you’ll gain the finesse to handle your RIB in close quarters confidently.
Step 4: Basic Handling Techniques on Open Water
Center console RIBs typically handle more briskly than heavier fiberglass boats, so a delicate touch and anticipation of momentum changes are crucial:
-
Acceleration and Planing:
- Apply throttle smoothly, letting the bow rise slightly before the boat levels onto plane. Too abrupt a throttle can cause the RIB to lurch, surprising passengers.
- Once on plane, reduce throttle to a comfortable cruising speed. If bow porpoising occurs, adjust trim or shift weight slightly forward.
-
Steering in Calm Conditions:
- Light, nimble response means minimal wheel input is needed. Practice gradual turns, keeping an eye on how the tubes stabilize your roll. Oversteering can cause abrupt changes to heading or passenger comfort.
-
Maneuvering in Chop or Waves:
- Angle your approach to waves diagonally if the chop is moderate to large. Directly bow-on can cause more pounding, whereas diagonal hits soften the ride somewhat.
- In bigger seas, throttle adjustments help time your crest crossing or trough entry, minimizing slamming. Don’t hesitate to slow down for comfort.
-
Stopping or Backing Down:
- To slow quickly, reduce throttle gradually while turning slightly. Reverse in short, controlled bursts—RIBs can pivot swiftly in reverse, so watch your stern clearance.
Experiment with different speeds and trim settings to discover your RIB’s sweet spot under various wave sizes. Your skill in anticipating wave patterns and body positioning significantly influences ride comfort and dryness on board.
Step 5: Navigating with Electronics and Basic Seamanship
If your RIB console includes a GPS chartplotter or fishfinder, understanding how to interpret these tools is pivotal to safe, accurate navigation:
-
Chartplotter Basics:
- Zoom in nearshore to see channel markers, buoys, or shallow spots. Zoom out offshore to track your heading and distance to destinations. Mark waypoints for fishing spots or anchorages.
- Cross-reference your position with paper charts (as a backup) if you’re traveling in less familiar waters.
-
Compass and Basic Orientation:
- Even a small RIB often has a dash-mounted compass. Practice heading alignment: calibrate your mental sense of direction to the compass reading and your chartplotter’s bearing data.
-
Observing Buoys and Navigation Aids:
- Study the region’s buoy system—like red-right-returning in the U.S.—and keep an eye out for no-wake or restricted zones. Resist speeding through channels with heavy traffic or shallow hazards.
-
Radios and Communication:
- If equipped with a VHF radio, monitor the main hailing channel (often Channel 16) for updates or emergencies. A quick radio check can also ensure your broadcast clarity if you need assistance.
Combining technological aids with fundamental seamanship—like reading the water’s color and wave patterns—helps you avoid hidden dangers and respond swiftly to changing conditions.
Step 6: Table – Common Navigation Tools on a RIB Console
Navigation Electronics Overview
| Device | Function | Installation Tip |
|---|---|---|
| GPS Chartplotter | Real-time positioning & route planning | Mount at eye level, avoid direct sun glare |
| Depth/Fishfinder | Reads bottom contours, fish targets | Transducer location is key; minimize turbulence |
| Compass | Backup heading reference | Avoid electronics interference or metal objects nearby |
| VHF Radio (DSC) | Marine communication & distress alerts | Keep microphone accessible, antenna height improves range |
| Radar (Optional) | Identifies vessels/shoreline in low visibility | Mount on T-top or arch above console height |
| Autopilot (Optional) | Maintains heading/course automatically | Requires compatible steering system (often hydraulic) |
Step 7: Handling Challenging Conditions and Emergencies
Even a well-prepared RIB can face unpredictable weather, mechanical breakdowns, or medical issues. Knowing how to cope can spell the difference between a minor hiccup and a bigger crisis:
-
Sudden Weather Changes:
- Reduce speed, turn on navigation lights if visibility worsens, and keep your bearing on the chartplotter. If lightning or severe storm is imminent, find the nearest safe harbor or protected cove quickly.
-
Engine Failure:
- Stay calm, drop anchor if wind or current threatens to push you into hazards. Check fuel lines, filters, or water separators for blockages. Radio for assistance if you can’t diagnose the issue swiftly.
-
Man Overboard (MOB):
- Immediately stop or slow the boat. Assign someone to maintain visual contact with the person in the water. Use a throwable cushion or life ring, then maneuver carefully for rescue, approaching the person from downwind/current so as not to drift away.
-
Capsizing or Tube Deflation:
- Stay with the boat if it becomes partially submerged. RIB tubes often provide positive flotation even if the hull is flooded. Signal for help with flares or your VHF DSC function if needed.
Basic drills or mental walkthroughs with your crew can build familiarity with these procedures, fostering calm, coordinated responses under stress.
Step 8: Returning to Port and Docking Gracefully
After enjoying your open-water experience, concluding the trip with a smooth re-docking or ramp retrieval is equally crucial:
-
Approach Slowly:
- Reduce speed well in advance. Overly fast approaches create panic if something goes wrong. Use gentle throttle shifts in forward and reverse to align your RIB with the dock or trailer guides.
-
Watch Wind or Current:
- These factors can drift your boat off target. Angle your approach slightly upwind/current so you drift into position rather than away from it.
-
Use Fenders and Lines:
- Fenders protect tubes from abrasion if you misjudge alignment. Secure bow and stern lines promptly to keep the boat stable, then shut down the engine. Double-check you have no leftover gear in the console or seats that might fall overboard.
-
Towing or Trailering:
- Once out of the water, drain the hull (if any water is present). Rinse the boat thoroughly, especially if used in saltwater, to remove salt residue. Tie it down securely for transport. A final walkaround ensures everything is locked and latched.
A composed approach to docking or ramp retrieval highlights your progress as a RIB operator, capping each journey on a positive note for both you and your passengers.
Step 9: Table – Basic Operator Checklist for Center Console RIBs
Pre-Trip and On-Water Checklist
| Task | Reason | Frequency |
|---|---|---|
| Check fuel & oil | Prevent running low or risking engine damage | Before every outing |
| Inspect life jackets & safety gear | Compliance & quick accessibility | Before launch |
| Ensure tubes are properly inflated | Maintains stability & performance | Before every outing |
| Start & warm up outboard | Check for water flow, idle smoothness | After launch, prior to departure |
| Monitor gauges & electronics | Spot potential engine or battery issues | Throughout the trip |
| Match speed & trim to sea conditions | Optimize ride comfort & efficiency | Continuously while underway |
| Slow approach to dock/ramp | Safe & controlled return | End of trip |
Step 10: Top 10 Most Searched Questions and Answers on Operating a Center Console RIB Boat
-
Q: Do I need a special license or certification to drive a center console RIB on open water?
A: It depends on your region. Many coastal areas require a basic boater safety course or operator’s license. Check local laws and consider additional training, especially if you’re new to boating. -
Q: How much experience do I need before venturing offshore?
A: Start with calmer inshore trips, build your handling skills, and become comfortable with reading weather patterns and wave conditions. Then, gradually progress to nearshore or moderate offshore outings once you’re confident in your RIB’s capabilities. -
Q: Which speed is best for cruising on open water in a RIB?
A: Most RIBs have a comfortable planing cruise between 20–30 knots. Adjust your speed based on wave conditions, passenger comfort, and fuel efficiency. Don’t push too fast in choppy seas, as it risks slamming and tube stress. -
Q: How do I handle crosswinds that push my RIB sideways?
A: Use slight helm corrections, possibly angle the boat into the wind to maintain a straight course. Avoid oversteering, which can cause zigzagging. Balancing weight distribution also helps reduce leeward drift. -
Q: Is trim adjustment important for first-time RIB operators?
A: Yes. Proper trim can smooth out the ride, boost speed, and save fuel. Practice small trim increments, noticing changes in hull attitude. Overly “bow high” can hamper visibility, while “bow low” might plow water. -
Q: Do I need a kill switch lanyard when driving a RIB?
A: Absolutely. A kill switch or engine cutoff device is a key safety feature that stops the outboard if you’re ejected or move away from the helm unexpectedly. Many regions mandate using it whenever the engine is running. -
Q: Should I stand or sit while operating a center console RIB?
A: It depends on conditions and personal preference. Standing provides better visibility and shock absorption in waves. Sitting can be more relaxing in calm water. A leaning post can offer the best of both worlds. -
Q: How can I prevent seasickness for me or my passengers on a RIB?
A: Stay hydrated, avoid heavy meals or alcohol before the trip, and encourage passengers to focus on the horizon or near stable objects. Over-the-counter remedies or wristbands might help. Slowing down or anchoring in calmer spots can also alleviate symptoms. -
Q: Are center console RIBs safe in bigger waves than standard inflatable boats?
A: Typically, yes. Their rigid hull shape cuts through chop more effectively than a flat inflatable floor. Still, remain cautious in large seas. The boat’s size, design, and your skill level all factor into safe operation. -
Q: Can I beach my RIB on a sandy shore safely?
A: Yes, if done slowly and carefully. Tilt the outboard up, approach gently, and ensure no sharp rocks that could puncture tubes. Keep an eye on tides; you don’t want to refloat unexpectedly or get stranded by receding water.
Conclusion
Operating a center console RIB boat on open water can be a rewarding blend of excitement and confidence—once you master the essentials. From learning the console layout and performing thorough pre-trip checks, to mastering throttle control, trimming, and safe docking procedures, each skill builds upon the last. When combined with robust seamanship fundamentals like weather awareness and safety drills, you’ll find that a RIB’s unique stability and responsive handling truly shine in various conditions.
If you’re eager to enhance your console with advanced electronics or refine seating and steering ergonomics, explore CenterConsoles.myshopify.com for specialized components tailored to RIBs. Meanwhile, NovielliBoats.com offers a wealth of additional resources, from expert maintenance tips to in-depth seamanship articles. By combining these insights with steady practice, you’ll soon turn your center console RIB voyages into some of the most enjoyable and adventurous experiences on the water—guiding your boat confidently across new horizons.
